Home Experiments
Easy Science Experiments to Try at Home
This article will share fun and easy science experiments that kids can do at home. We will show how science can be super fun and how kids can learn cool things by doing simple experiments with stuff they find around the house. We want to make science exciting for kids and easy for parents and teachers to share.
MAKE A VOLCANO IN YOUR KITCHEN
Making a baking soda volcano in your kitchen is a fascinating scientific experiment with the added "wow" effect of an explosion.
Ingredients/Materials
- 3 to 7 cups warm water
- Red food colouring
- 5 drops dishwashing detergent
- 2 tbsp. baking soda
- 2 cups white vinegar
Supplies/Tools
- Empty soda bottle (2 litre depending on how big you want your volcano)
- Baking pan or large tray
- Funnel
Instructions
1. Create Your Volcano Structure
Place the plastic bottle in a baking pan or large tray and mould your volcano around it using play dough.
Whichever technique you choose to create your volcanic cone, be sure to keep the bottle opening free of material. Use the bottle cap or cover the opening with tape to prevent any material from getting in the bottle.
2. Load Your Volcano
Using the funnel, fill the bottle two-thirds full with warm water and a few drops of food colouring. Add the dishwashing detergent and baking soda to the liquid in the bottle and give it a gentle stir.
3. Prepare for the Explosion
Before adding the final ingredient, make sure that you're wearing some sort of protection over your eyes. Keep your face away from the volcano as the mixture may shoot up quite a bit, especially if you used a smaller bottle.
As precisely as possible (without using the funnel), pour the vinegar into the bottle and get ready for your miniature-sized volcanic eruption.
Try different amounts of vinegar. Try different amounts of baking soda. Try different sized and shaped bottles.
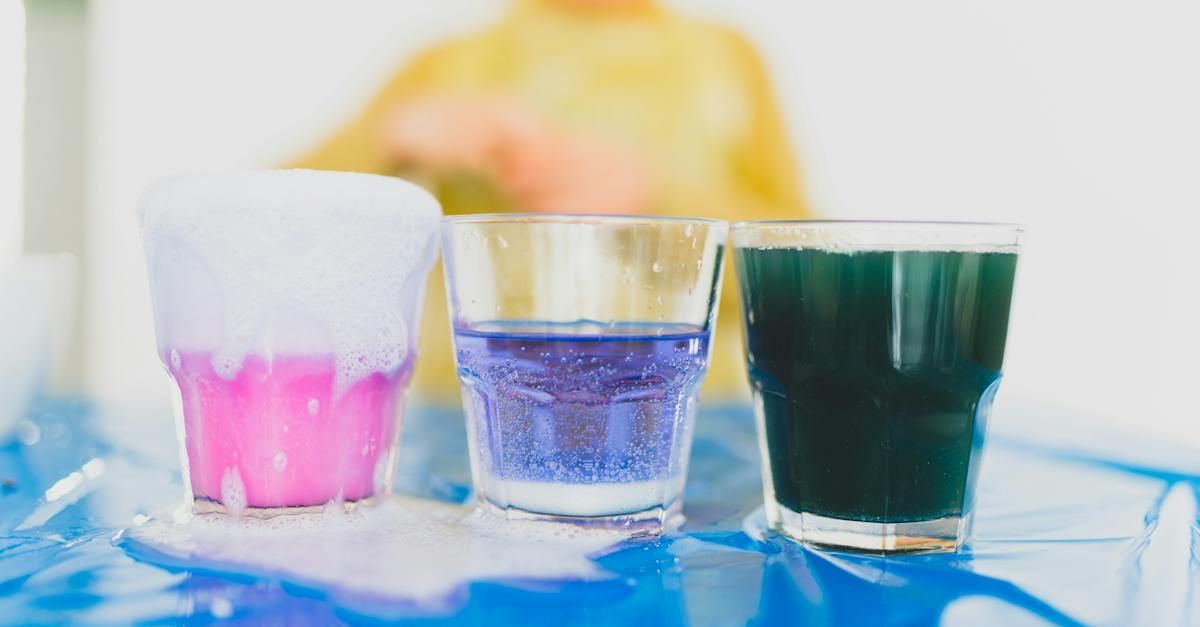
CREATE RAINBOW IN A GLASS
Ingredients
Sugar, water, food colouring, and 5 glasses or clear plastic cups.
INSTRUCTIONS
- Arrange five glasses in a row. 1 tablespoon (15 g) sugar in the first glass, 2 teaspoons (30 g) sugar in the second glass, 3 tablespoons (45 g) sugar in the third glass, and 4 tablespoons (60 g) sugar in the fourth glass. The fifth glass is still empty.
Add 3 tablespoons (45 ml) of water to each of the first 4 glasses. Stir each solution. Each solution should be stirred. If the sugar does not dissolve in any of the four glasses, add another tablespoon (15 ml) of water to each.
Fill the first glass with 2-3 drops of red food colouring, the second with 2-3 drops of yellow food colouring, the third with 3 drops of green food colouring, and the fourth with 3 drops of blue food colouring. Each solution should be stirred.
Now, utilizing the various density solutions, let's create a rainbow. Fill the remaining glass about a quarter of the way with the blue sugar solution.
Layer some green sugar solution on top of the blue liquid with care. Put a spoon in the glass, just above the blue layer, and slowly pour the green solution over the back of the spoon.
If you do it correctly, you won't affect the blue solution at all. Fill the glass halfway with the green solution.
Using the back of the spoon, place the yellow solution on top of the green liquid. Fill the glass three-quarters of the way.
Finally, pour the crimson solution on top of the yellow liquid. Fill the glass up to the brim.
MAKE A BOUNCY EGG
Supplies Needed
- Raw Egg
- Clear Glass or Jar
- White Vinegar
Instructions
- Place an egg carefully into a jar.
- Fill a jar with vinegar until the egg is fully covered.
- Leave egg for 24 hours, then drain the old vinegar and add fresh vinegar.
- Check on the progress each day and note how the egg changes.
- After three days, carefully remove the egg from the jar and rinse with water.
The egg will now look translucent, and the yolk can be seen from the outside. Allow your child to gently “bounce” the egg from a small height, about 6 inches or less.
PLAY WITH STATIC ELECTRICITY USING A BALOON
What You Need
• 2 balloons
• Light string, thread, or curling ribbon
• Wool fabric (socks, mittens, or sweater)
• Gift tissue paper
• Aluminium can (empty, on its side)
Instructions
1. Blow up the balloons and tie a light string to each
2. Hold a balloon by the string (it should be hanging down) and bring the balloon close to each of the materials (the second balloon, the tissue paper, and the aluminium can).
3.Rub both balloons onto your hair or onto the wool fabric.
EXPLORING DENSITY - FLOATING EGG EXPERIMENT
Equipment needed
- Measuring cups (1 cup and ¼ cup)
- 2 eggs
- 2 clear beakers or glasses
- Water
- Salt
- Food colouring
- Spoon
What to do
1. Fill one of the glasses with 1 cup of water.
2. Gently drop one egg into the water and watch what happens.
3. Fill the second glass with 1 cup of water and ¼ cup of salt.
4. Stir until the salt is completely dissolved.
5. Add a few drops of food colouring to the salt water and stir to mix.
6. Gently drop the second egg into the glass and watch what happens.